

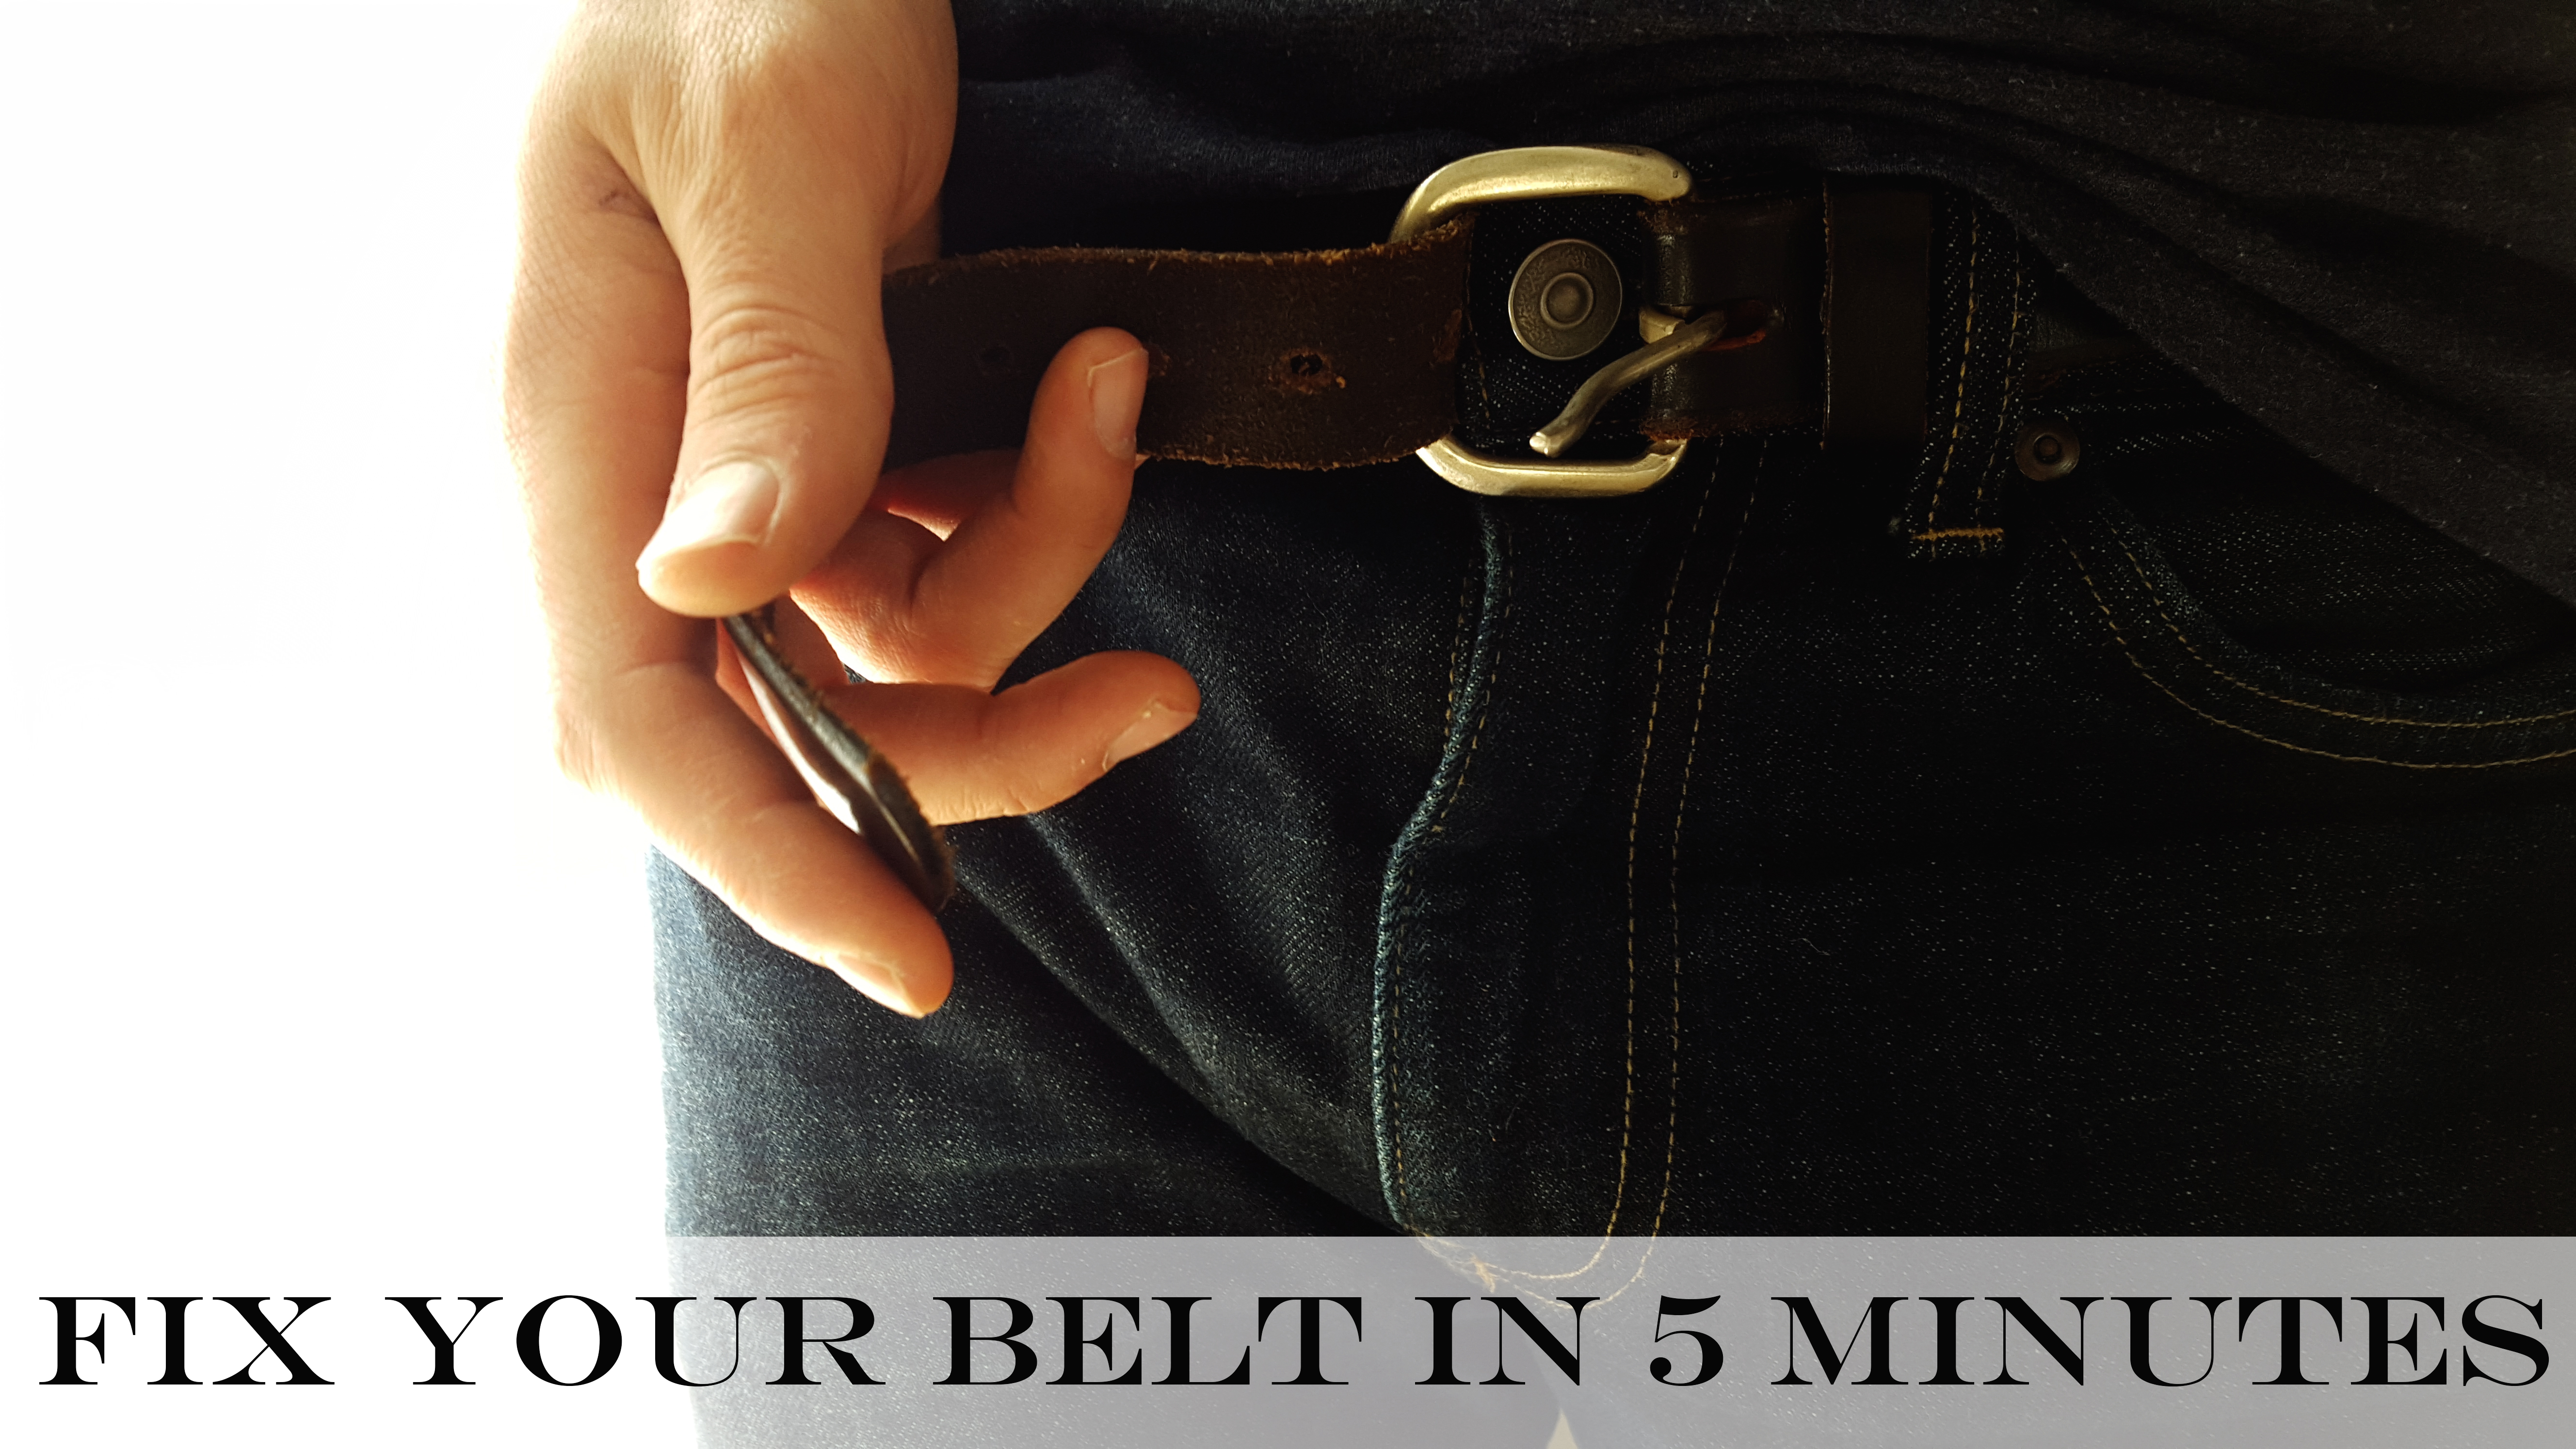

Today I will be giving you a quick guide to fixing the belt that you have which may be too big or too small with only items that you have lying around the house. You will fix your belt in 5 minutes without spending any money!
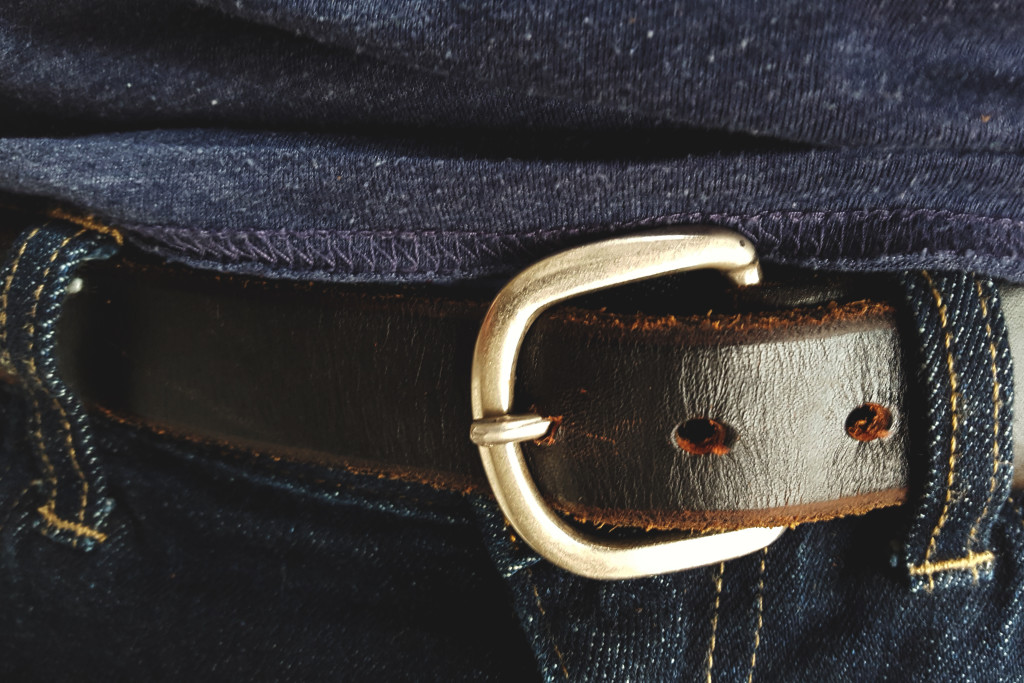
Here is the belt that I will be working with. I had been looking for a black leather belt and when I went home for Christmas I found this in a drawer. It was too big for me, but I saw potential! This guide will be given from the perspective of making a big belt smaller, but if you are just looking to get a little more room in the belt you can use this guide for an extra hole. This is a leather belt with a more casual vibe, I WOULD NOT recommend this method for adjusting a dress belt.
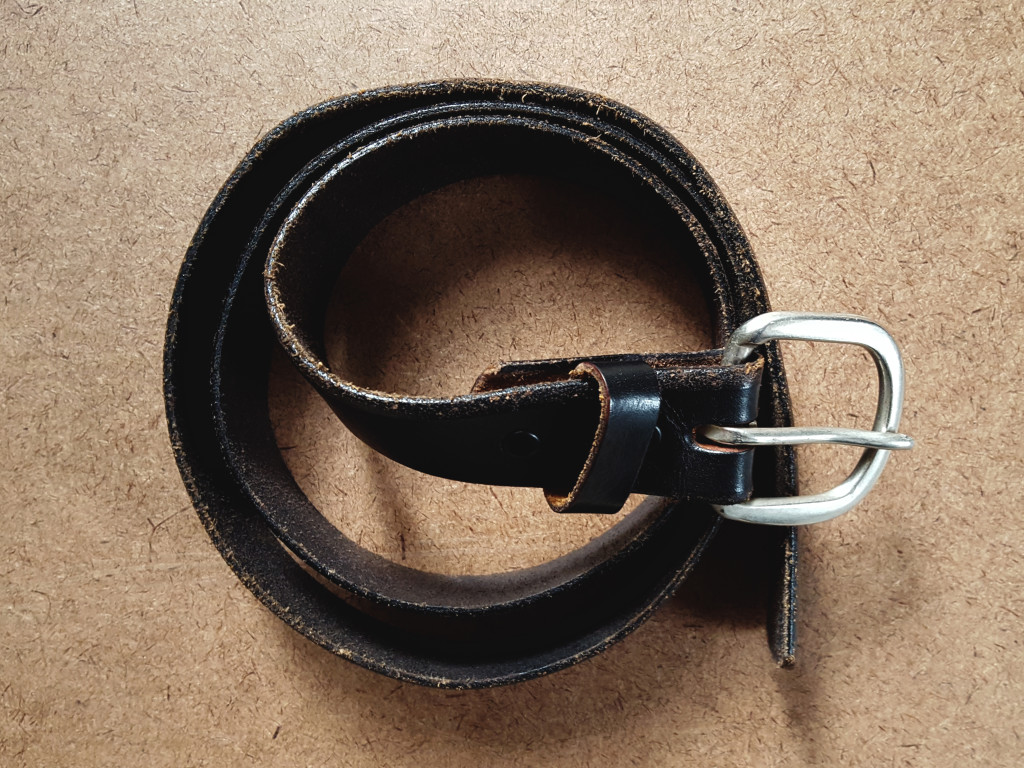
Necessity is the mother of all invention though and I need a casual black leather belt. So here we go!
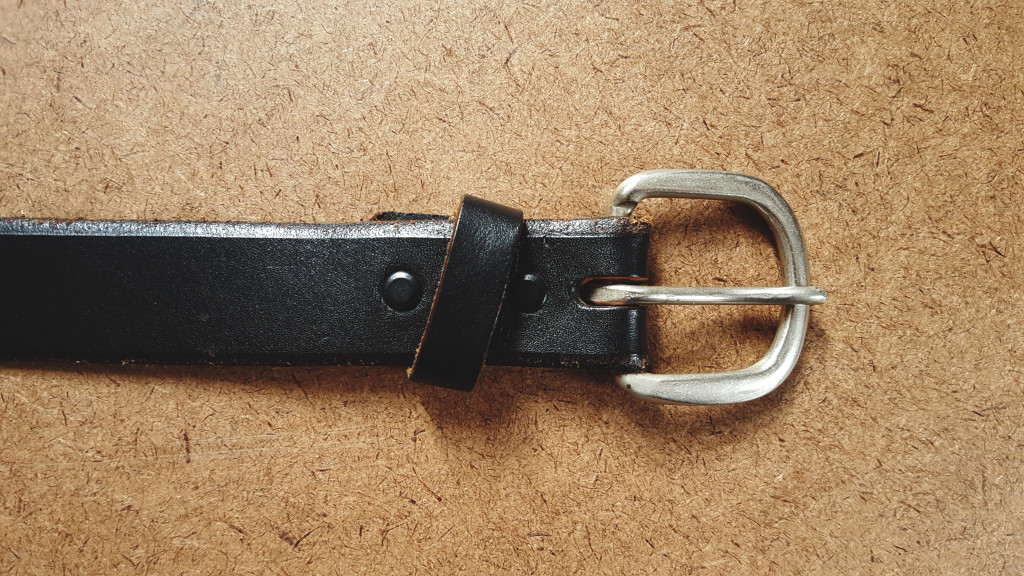
You want to try on the belt and get an idea for how much you will need to bring the belt in, one extra hole is all i needed for this one. Some belts have screws near the buckle which you can remove and relocate to shrink the belt. Mine had snaps, so unfortunately unless I wanted to remove the rivets, purchase new rivets and re-cut the slot I would have to live with this end the way it is.
With that decided, we work on the other end!
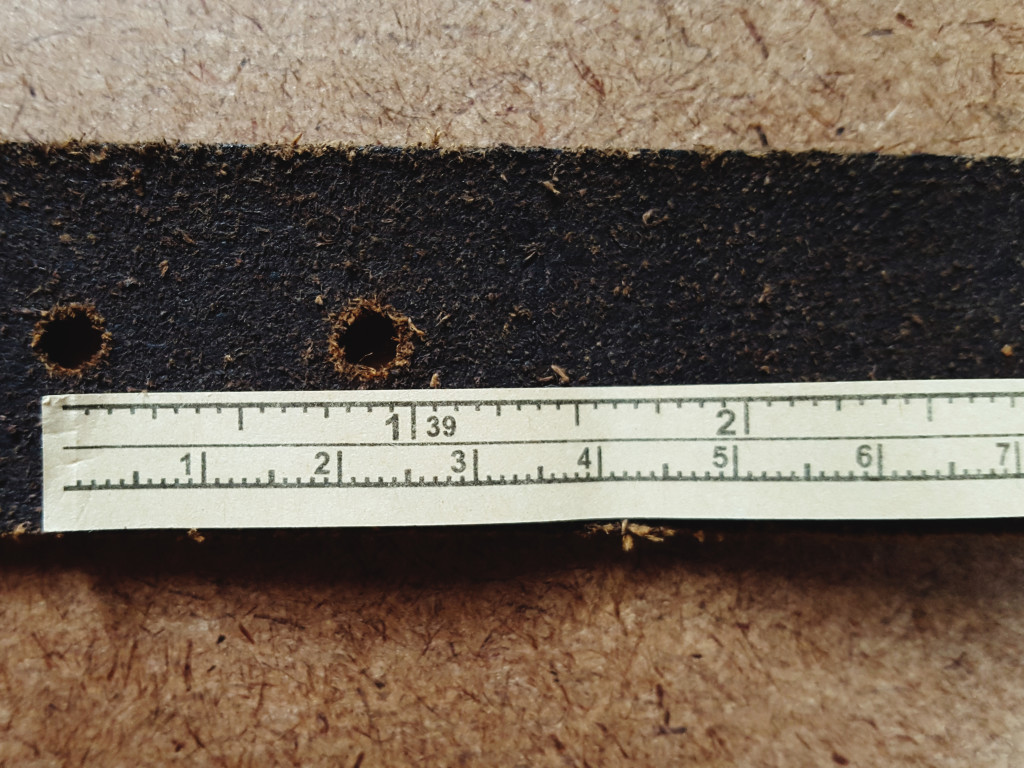
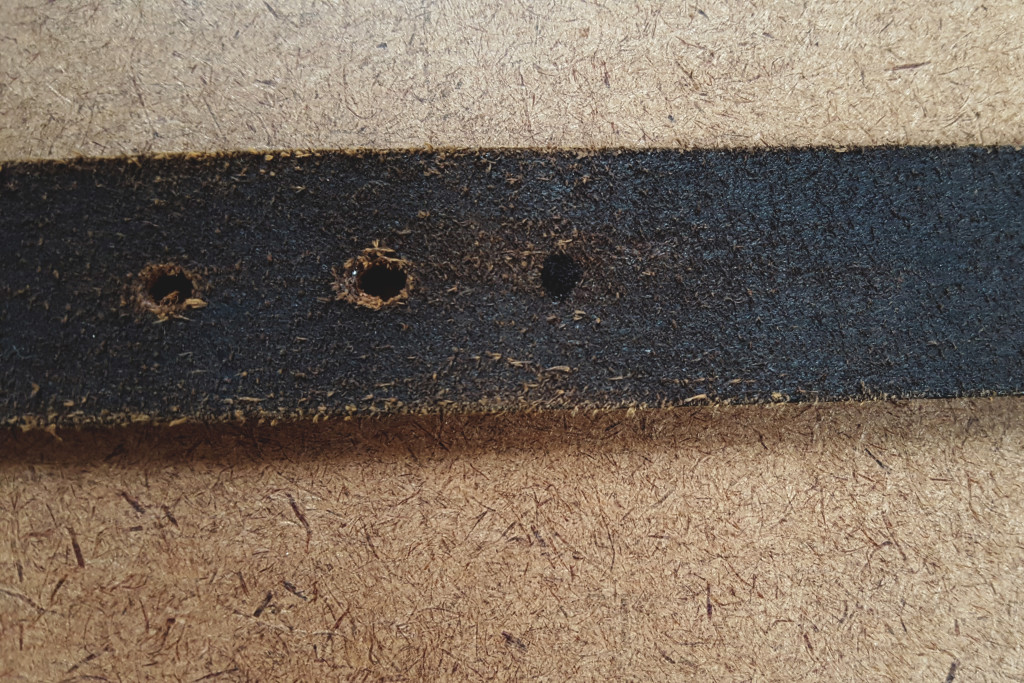
Measure the distance between holes to get an idea of how far you need to punch the next hole.
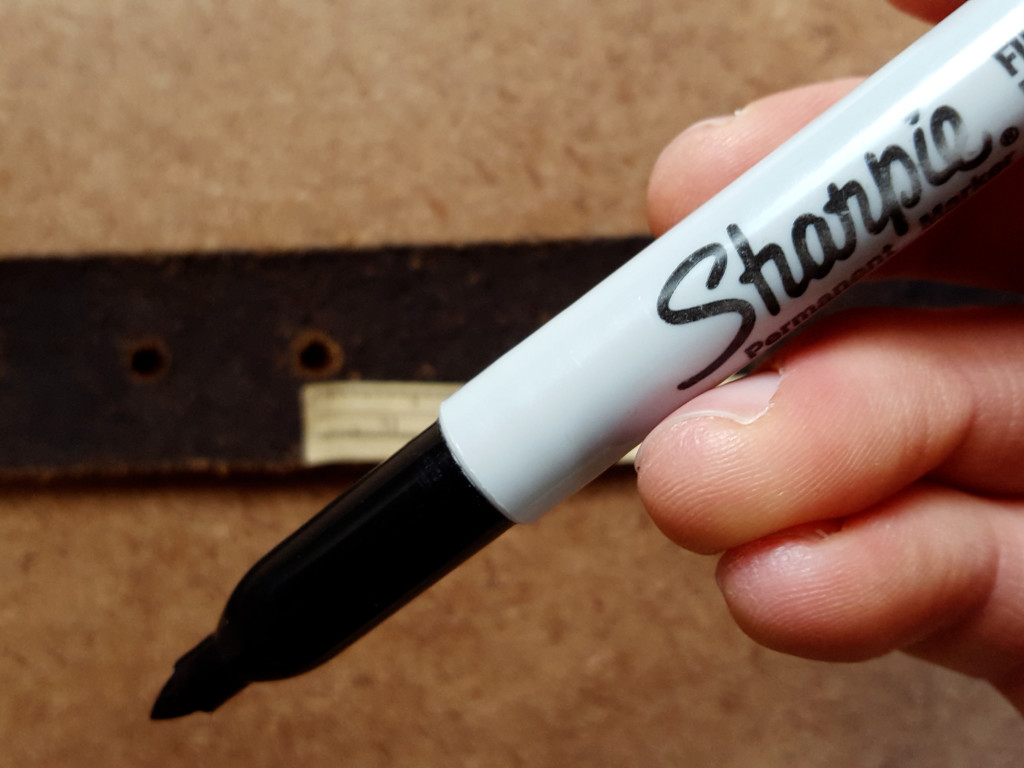
Use a sharpie to mark where the next hole will be.
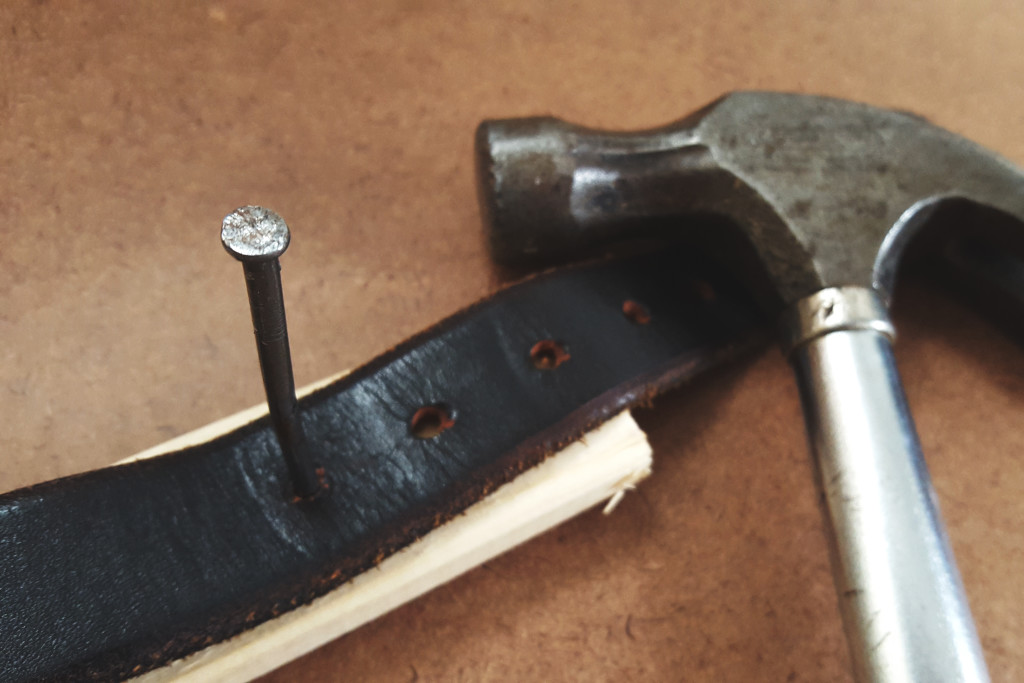
STOP Hammer time
I don’t have a leather hole punch, so I just used a nail that I had and punched the hole a couple of times. Work the leather up and down the hole to try to stretch it out a little as it will not be the exact same size as the other holes that were punched originally.
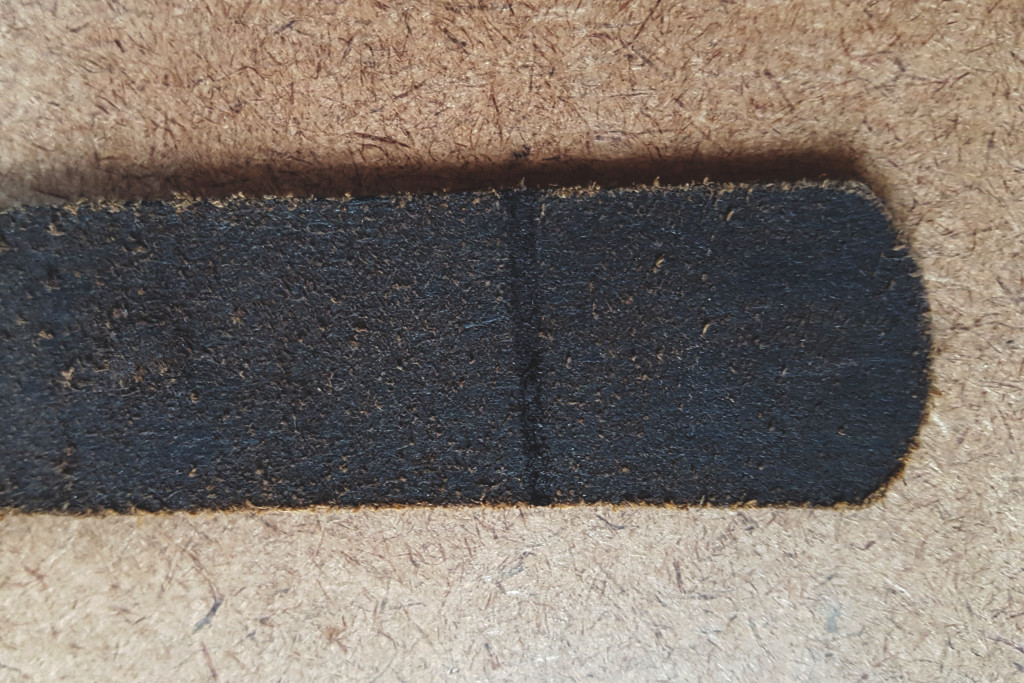
Next we need to get rid of the excess leather at the end so we don’t look like we have a tail hanging out on the front of our pants.
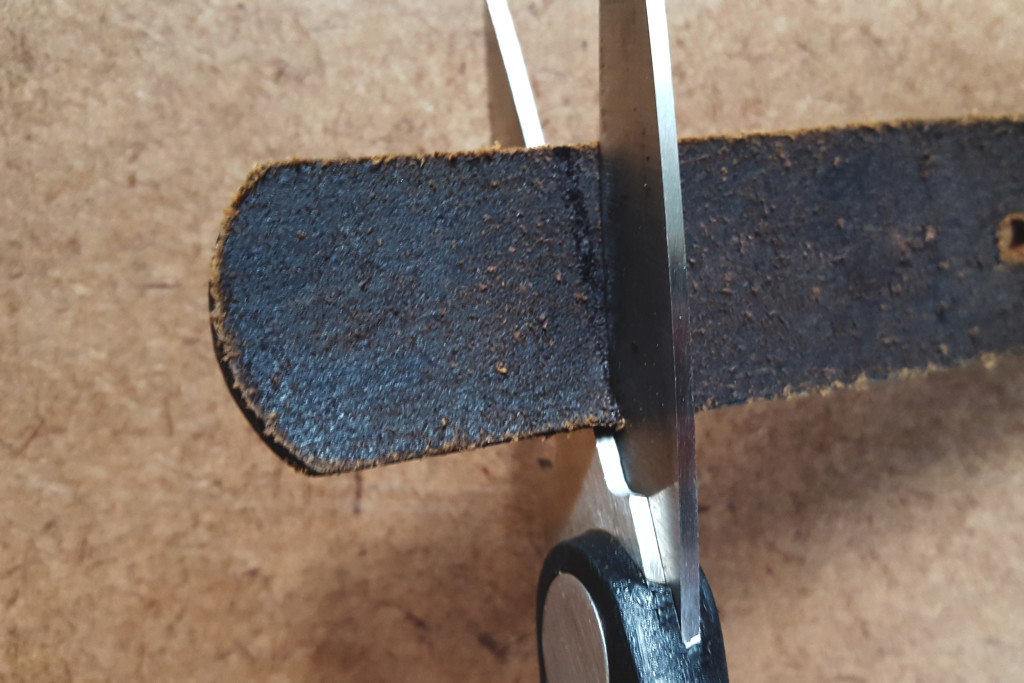
Again I marked where I felt appropriate with a sharpie and just used my household scissors to cut the leather.
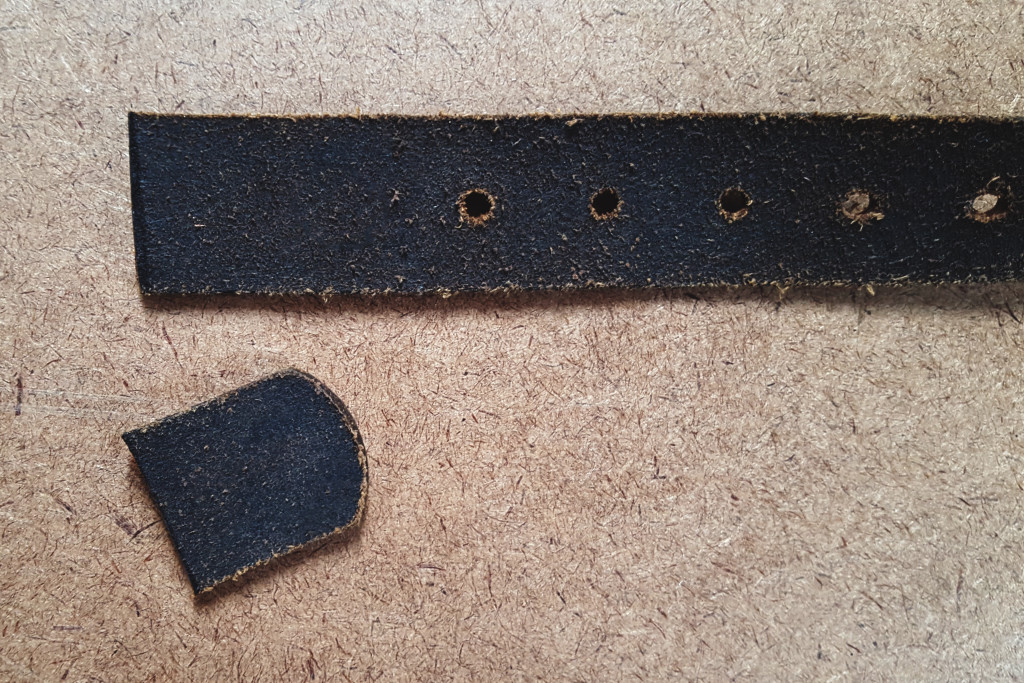
DO NOT throw away the piece you cut off just yet. We will be using that as a template for the rounding of the corners.
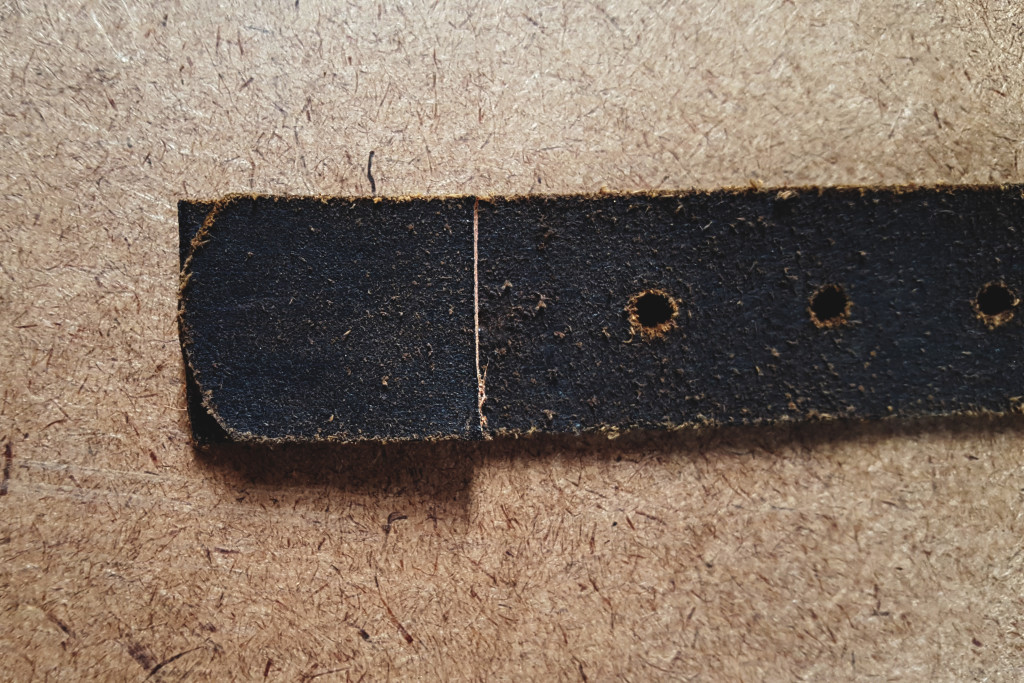
Place the template overtop of the belt and cut around it.
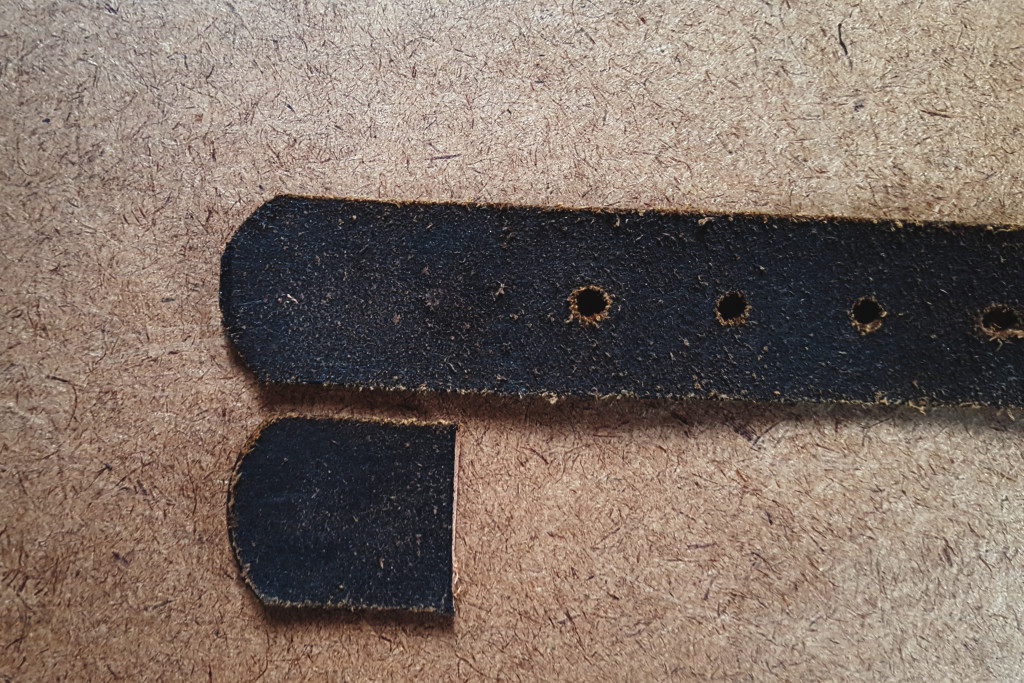
Now we have rounded off the edges and the belt appears to be pretty similar to it’s original shape.
That’s it! It took me longer to write this than to fix my belt.
5 minutes of your time and no money spent
I would love to see your belt fixes below if you try it out!
Great tip! You can use the same process for watch straps as well.